VMnet8のIPアドレスの取得(Windows 8.1)
2013年12月4日(水)
VMnet8のIPアドレスの取得方法(Windows 8.1)
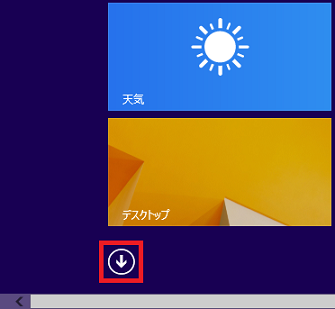
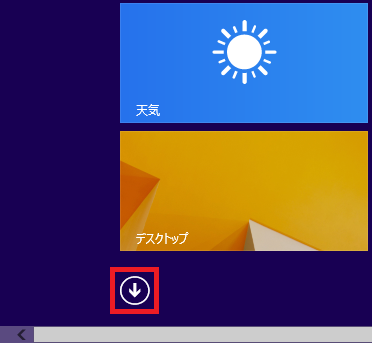
- スタート画面で、左下の矢印をクリックします。
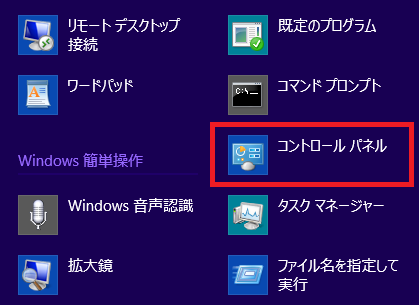
- 「Windowsシステムツール」内の「コントロールパネル」をクリックします。

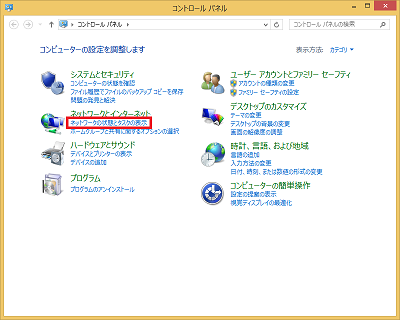
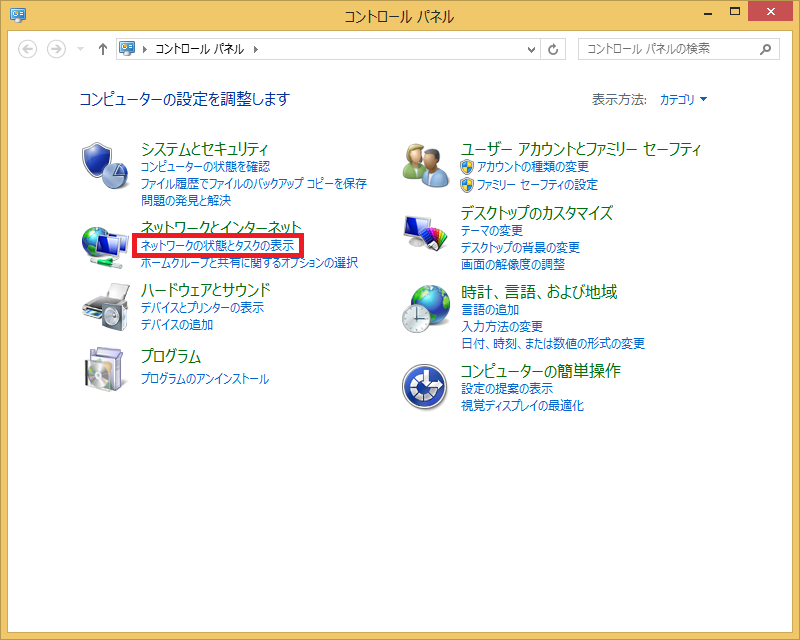
- コントロールパネルの「表示方法:カテゴリ」で、「ネットワークとインターネット」にある「ネットワークの状態とタスクの表示」をクリックします。
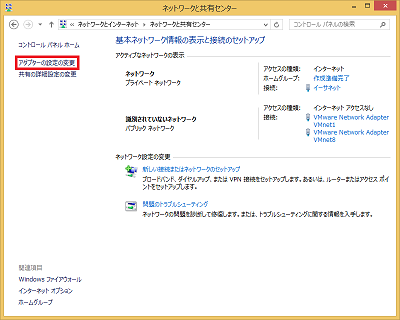
- 「基本ネットワーク情報の表示と接続のセットアップ」の画面が現れますので、左側の「アダプターの設定の変更」をクリックします。
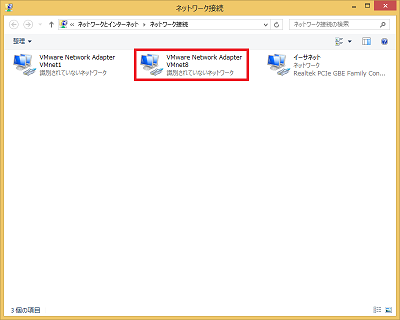
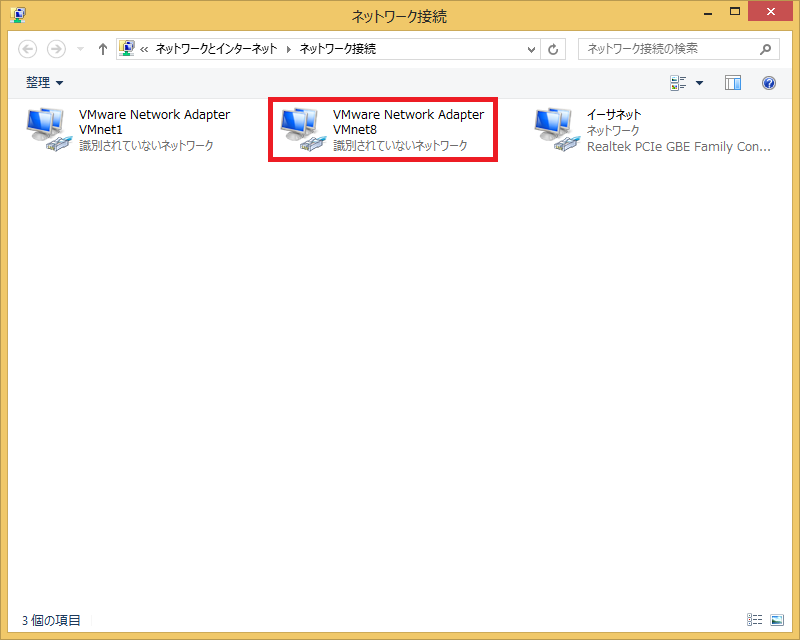
- 「VMware Network Adapter VMnet8」と表示されるアイコンをダブルクリックします。
- 「状態」の画面が現れますので、[詳細] をクリックします。
![[詳細] をクリック](img/ip-win81-04s.png)
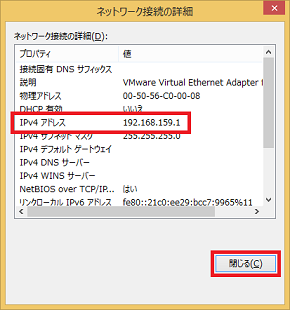
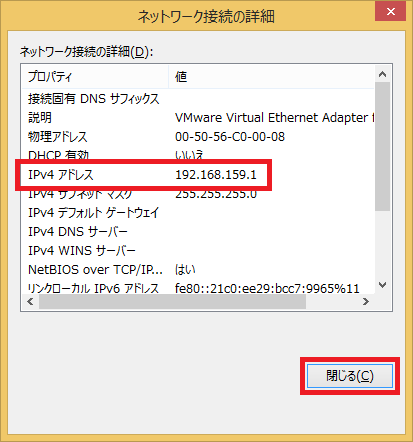
- 「IPv4 アドレス」の項目にあるIPアドレスがVMnet8のIPアドレスになります。この値をメモして、[閉じる]をクリックします。
- 下の画面例では「192.168.159.1」がIPアドレスです。

![[詳細] をクリック](img/ip-win81-04.png)
変更履歴
- 2013年12月4日(水)
初版
HOME > サポート情報 > 超漢字Vサポート > セキュリティソフトの設定 > IPアドレスの取得